Monday, October 25, 2010

A love letter to Palette

These gloves are the anti-Ringwoods. They are neither easy nor fast. (The ring/middle/index fingers are twenty-six stitches around. Those suckers are time-consuming!) But I'm madly in love with how they're turning out:

Glove in progress

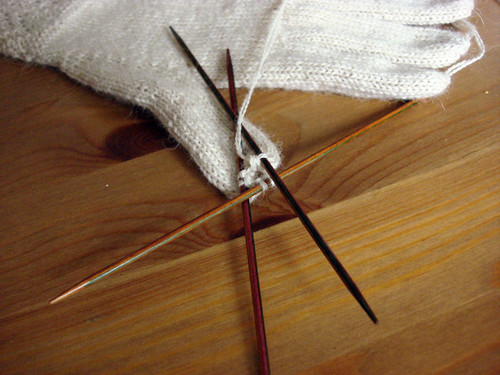
(Don't mind the unevenness; this is a pre-blocking picture!)

That's not to say that I didn't have to deviate a lot from my original idea! Three main changes:

  1. I decided that corrugated ribbing actually interfered with the pattern a little; the flow of the transition section between cuff and hand was thrown off by adding purl columns. So instead the cuff is just pinstriped, and I am much happier.

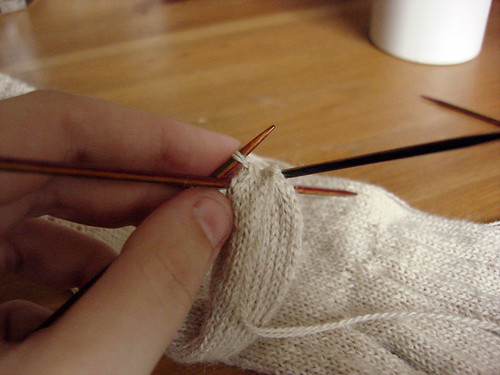
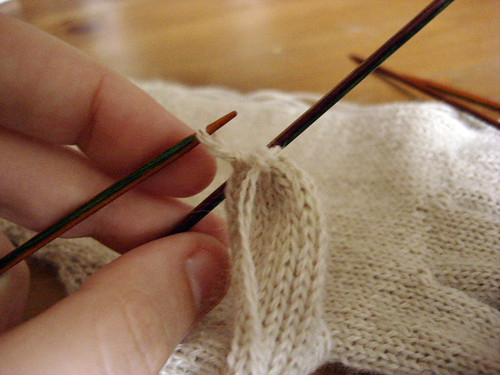
  2. The pattern is written for five colours. I'd originally planned to knit four of them and add the last one in duplicate stitch after the knitting was done. It turns out that it's a huge hassle to strand four colours at the same time, especially when two of the colours have long floats. So now the whole thing is worked with three colours (blue, yellow, orange), and the last two (green and red) are duplicate-stitched on. You can see the embroidery in progress in the unglamorous picture above. This is much faster and pleasanter in the scheme of things!

  3. Another deviation I made from the original plan was to scrap the peasant thumb, and make a gored thumb instead. The extra stranding going on makes the fabric awfully inflexible, and the peasant thumb ended up being uncomfortable for that reason. I was also worried about the distortion in the corners where the thumb emerged from the palm, and what that would do to the gloves' durability. (Yes, I knitted most of a glove, sighed heavily at the result, and then ripped it out!)

I reiterate that it's a pain to strand three colours at once, but the thick cushiness of the resulting fabric is really, really worth the trouble. These aren't gloves you'll be able to wear in the late fall but have to switch out for something warmer in December; they're dead-of-winter gloves that will keep you (and me!) toasty warm.

I adore this unassuming yarn. There's nothing fancy or ostentatious about Knit Picks Palette; it just comes in a lot of marvellous colours and does exactly what you tell it to do. It's a little grabby but not toothy; it is soft around the edges. Look at this face; what's not to love?

A bonus outstanding thing I discovered is that SpillyJane the Bold has already designed a pair of mittens inspired by the very same building in Detroit! You can buy the pattern on ravelry right here, or admire them in her blog post here. She borrowed a tile and ironwork pattern from the building's exterior. How awesome is that!

Monday, October 18, 2010

Shawlitis

I signed up for an international shawl swap on a whim at the very last minute. The arrangement is not complicated: each participant filled out a survey about their favourite things to knit and favourite things to wear, and the swap coordinators matched each knitter with a recipient according to those preferences. The pace is relaxed—finished shawls get sent out in January, so everyone gets a nice little pick-me-up in the mail right when it seems like winter has gone on for too long. February is grey and interminable here, and thinking about getting an awesome present—and getting to prepare an awesome present for someone else—is already making me excited.

It's taken a couple of weeks of thinking, swatching, and thinking some more, but I think I've finally got the right idea. Here's the first stage:

Rosa border

I was inspired by Jared Flood's beautiful Terra shawl. The main area inside the lace border he used is quite plain, but it's very elegant because of the yarn he chose and the slightly loose gauge it's knitted at. I'll use a different edging pattern than Jared did, and my shawl will be a rectangle rather than a triangle, but I want it to have the same vibe—the centre of this shawl will also involve stripes of garter stitch. I love plain knits that are elevated by the yarn they're made from.

The plan is to knit one border-and-centre unit and another border piece, and then graft them together. I value symmetry and can't stand it when edges are differently scalloped, so I am not allowed to complain about having to graft a hundred stitches. To use up as much yarn as possible, I'll knit the border by itself first, followed by the border and centre together; then I'll only need to reserve a few feet of yarn to graft with.

Speaking of the yarn, dear swap partner, I think you'll really like it! It's 80% ultrafine alpaca, 20% silk, from a farm that was local to me until recently. It's cashmere-soft—when I touched it in the store I had a hard time believing it wasn't cashmere. It has a slight halo and a very subtle sheen from the silk content, and it drapes like you wouldn't believe.

I'm going to block it lightly—I want the garter stripes in the border to really pop, and the lace portion to recede behind them a little. The lace is really there to shape the fabric into scallops, not to be delicate in its own right.

Wednesday, October 6, 2010

Heart of a blossom (a tiny tutorial)

So I've been instructing that glove fingers and mitten tips be finished by decreasing to a small number of stitches, breaking the yarn, threading it through the stitches, and fastening off the end. I wanted to show you a tidy way to do this that allows you to tighten each stitch around the yarn as you thread it through. Threading through and fastening off is how I've been finishing glove fingers since I read Nancy Bush's Folk Knitting in Estonia and learned her name for the technique—"heart of a blossom". I figured out this painless way to tighten the stitches up after a lot of hours spent laboriously pulling on each stitch with a darning needle, trying to make them smaller.

A bonus feature of the tighten-as-you-go approach is that it doesn't require that you unearth a darning needle to thread the yarn through the stitches. You'll still need one to weave in the ends, but if you're like me, you leave all the ends hanging to weave in at the very end of the project anyway. Gloves generate a lot of ends to weave in.

This is the thumb from that cream alpaca glove I showed you at the end of last week. Here I've decreased down to 5 stitches, which was the final decrease round before the break yarn etc. step.

step 1

Break the yarn, then arrange the needles as if you were going to keep knitting. Knit the first stitch of the round with the dangling end of yarn, pull the end all the way through the knitted stitch, and drop it off the needle. It won't unravel because it will be caught by the yarn now threaded through.

step 2

Knit the next stitch, again pulling the yarn all the way through. Before you drop this stitch, tug on it a little. The previous stitch, already dropped, will tighten up around the yarn threaded through it. The stitch you are currently working on will get bigger. But don't worry about it, because….

step 3

… now it's time to drop it, and knit the next stitch. Pull the yarn all the way through it, tug on it to tighten up the previous stitch, and let it go.

Carry on until all the stitches have been knitted, threaded through, and dropped. You'll have no live stitches remaining, a number of very neat tightened stitches, and one enormous ugly loop….

step 4

… which vanishes when you tug gently on the tail.

step 5

Take a moment to sing a triumphant song to yourself, then move on to the next finger.

I meant to post this on Monday, and then I meant to post it on Tuesday, but it's a rainy week here and there hasn't been enough light to take adequate pictures. (Or really even to knit by!) I hope you can tell what's going on in the ones above!